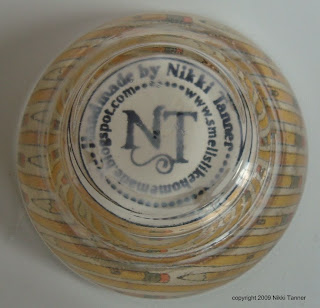
This is my first try at one of these. I take that back, I tried once before, but not very hard ;) Go easy on me!
Supplies:
Glass tea light holders (mine came in a two-pack at Dollar Tree)
Modge Podge (or another clear drying decoupage medium)
Nestabilities (or other circle cutting tool)
1¾” Circle Punch
Stamps and Ink
Cardstock
Adhesive
Decorative Paper (optional)
Step by Step:
Keep in mind that the finished paperweight will be the tea light holder flipped over.
Step 1:
Stamp image or sentiment that you wish to be in the foreground.
Cut that image out with the smallest Nestie. Mat with a circle cut with the 1-3/4" circle punch.
Step 2:
Lightly cover the matted circles (on the stamped side) with Modge Podge and insert face down into the bottom, so that when you flip the tea light holder upside down, your image will be visible.
Step 3:
Stamp an additional piece of cardstock (or use DP if you prefer) and use Nesties to cut a circle around the image that is large enough to cover the entire top side of the tea light holder.
Glass tea light holders (mine came in a two-pack at Dollar Tree)
Modge Podge (or another clear drying decoupage medium)
Nestabilities (or other circle cutting tool)
1¾” Circle Punch
Stamps and Ink
Cardstock
Adhesive
Decorative Paper (optional)
Step by Step:
Keep in mind that the finished paperweight will be the tea light holder flipped over.
Step 1:
Stamp image or sentiment that you wish to be in the foreground.
Cut that image out with the smallest Nestie. Mat with a circle cut with the 1-3/4" circle punch.
Step 2:
Lightly cover the matted circles (on the stamped side) with Modge Podge and insert face down into the bottom, so that when you flip the tea light holder upside down, your image will be visible.

Step 3:
Stamp an additional piece of cardstock (or use DP if you prefer) and use Nesties to cut a circle around the image that is large enough to cover the entire top side of the tea light holder.
Step 4:
Lightly cover the bottom edges of the tea light holder with Modge Podge and attach your circle face down, so that when you flip your tea light holder upside down, your images (or DP) will be visible.

Other ideas:
On this paperweight, I omitted the full circle in the foreground and cut out this bat after I colored it. The background scene also has a gravestone popped out with a dimensional, which fits in the opening intended for the candle. The end result makes it look 3D.
If you make one of these, link it up here so that I can see how it turned out! Have fun!


8 comments:
What an awesome project! That would be great to do with the kids, for them to give as Xmas gifts.
I have seen thse IRL and they rock. Really great tutorial Nikki. Love this. Super idea..TFS
thanks Nikki!! Very very helpful!!
This is awesome Nikki thanks for the GREAT tutorial!
Super tutorial! I love this project! Very clever...now if only I could get some of those cool tea lights!
Awww what an awesome project Nikki!! I love 3Ds, and this is definitely an original worth trying. You are the bomb diggity for ideas and inspiration! Happy Friday to you. :D
Great inspiration on a project here Nikki!
These are wonderful!!! Wish I would have seen this BEFORE Christmas!!! he,he!!! These make great little gifts and stocking stuffers!!!! Saving for later!!! :)
Post a Comment